
In this article, We will learn to setup static login UI with Next.js
What is Next.js & Why to use it?
Next.js is a react-based javascript framework for developing SSR(Server side rendering) and static web applications. It came up with all basic configurations and that is the main highlight.
I love some of its great features.
- We can use GraphQL to connect it with open-source cms like WordPress etc.
- Install and run. we didn’t need to do any configuration for basic things like packing and compiling SCSS etc.
- It supports TypeScript.
4. Supports AMP, We can either create an AMP page or can make a hybrid page having AMP and HTML both.
Reference:- https://nextjs.org/docs/api-reference/next/amp
Next.js gives you the best developer experience with all the features you need for production: hybrid static & server rendering, TypeScript support, smart bundling, route pre-fetching, and more. No config is needed.
Creating a Next.js Project
First of all, we need to make sure our system full fill all its requirements However we do not have a long list of requirements for this.
It requires
- Node.js 10.13 or later
- Npx or Yarn Installed globally
We can run the following command to start or create a next.js app.
npx create-next-app
# or
yarn create next-app
It will ask us for the project name and start installing core dependencies.
Once it’s done with installing, we are ready to run it and create our pages.
Dev, Build & Start
- “next dev” runs the application in development mode. We can run the below command from the terminal.
npm run dev - “next build” build application for production deployment.
npm run build - “next start” starts the production server. Before running this command, we need to make sure that we have a valid build.
npm run start
Setting up Layouts, Header & Footer
Now let's create wrapper components.
we are going to use bootstrap for our theme so install bootstrap by the following command to install the latest bootstrap version.
npm install bootstrap@latest
# And
npm install react-bootstrap
# And
npm install scss
Now create assets directory in root and set app.scss to include bootstrap scss files as shown below.
$enable-shadows: true;
$primary: rgb(0, 19, 223);

$body-color:  #414042;
$body-bg: #ffffff;

@import '../node_modules/bootstrap/scss/bootstrap.scss';

.login-wrap {
  height: 90vh;
  display: flex;
  align-items: center;
  justify-content: center;
  .form-signin {
    width: 100%;
    max-width: 330px;
    padding: 15px;
    margin: 0 auto;
    img{
      display: block;
      margin: 0 auto;
    }
    h1{
      text-align: center;
    }
  }
}
For layout create a components directory in the root with the following files.
Header.js
// File - /components/Header.js
import { Container, Row, Col, Navbar, Nav, NavDropdown } from 'react-bootstrap'

const headerStyle = {};

const Header = () => (
<header>
    <Navbar className="Header" >
        <Container className="d-flex justify-content-between px-3">
            <a href="#" className="navbar-brand d-flex align-items-center py-2">Login UI</a>
        </Container>
    </Navbar>
</header>
);

export default Header;
Footer.js
// components/Footer.js

const footerStyle = {};

const Footer = () => (
  <div className="Footer" style={footerStyle}>
  </div>
);

export default Footer;
Layout.js
// File - /components/Layout.js
import Header from "./Header";
import Footer from "./Footer";
import { Container } from 'react-bootstrap'

const layoutStyle = {
};

const contentStyle = {
};

const Layout = props => (
  <div className="Layout" style={layoutStyle}>
    <Header />
    <Container className="Content container" style={contentStyle}>
      {props.children}
    </Container>
    <Footer />
  </div>
);

export default Layout;
Include styles to /pages/_app.js
// File - /pages/_app.js
import '../assets/app.scss'

function LoginUI({ Component, pageProps }) {
  return <Component {...pageProps} />
}

export default LoginUI
Login UI
We can also create a new page for login UI, However, in this example, we are editing index.js itself.
// File - /pages/index.js
import Head from 'next/head'
import Link from 'next/link'
import Layout from "../components/Layout";
import { Form, FormControl, Button, FormLabel, FormGroup } from 'react-bootstrap'

export default function Home() {
  return (
      <>
        <Head>
          <title>Login Page</title>
          <link rel="icon" href="/favicon.ico" />
        </Head>
        <Layout>
            <div className="login-wrap">
                <Form className="form-signin">
                    <img className="mb-4" alt="" width="72" height="72" src="https://getbootstrap.com/docs/4.0/assets/brand/bootstrap-solid.svg" />
                    <h1 className="h3 mb-3 font-weight-normal">Please sign in</h1>
                    <FormGroup>
                        <FormLabel>Email</FormLabel>
                        <FormControl type="text" placeholder="[email protected]" className="mr-sm-2" />
                    </FormGroup>
                    <FormGroup>
                        <FormLabel>Password <Link href="/"><a>Forgot Password?</a></Link></FormLabel>
                        <FormControl type="password" className="mr-sm-2" />
                    </FormGroup>
                    <Button className="btn-lg btn-block" variant="primary">Sign In</Button>
                </Form>
            </div>
        </Layout>
      </>
  )
}
Now we can run the dev command to see our login page UI, It will be like below.
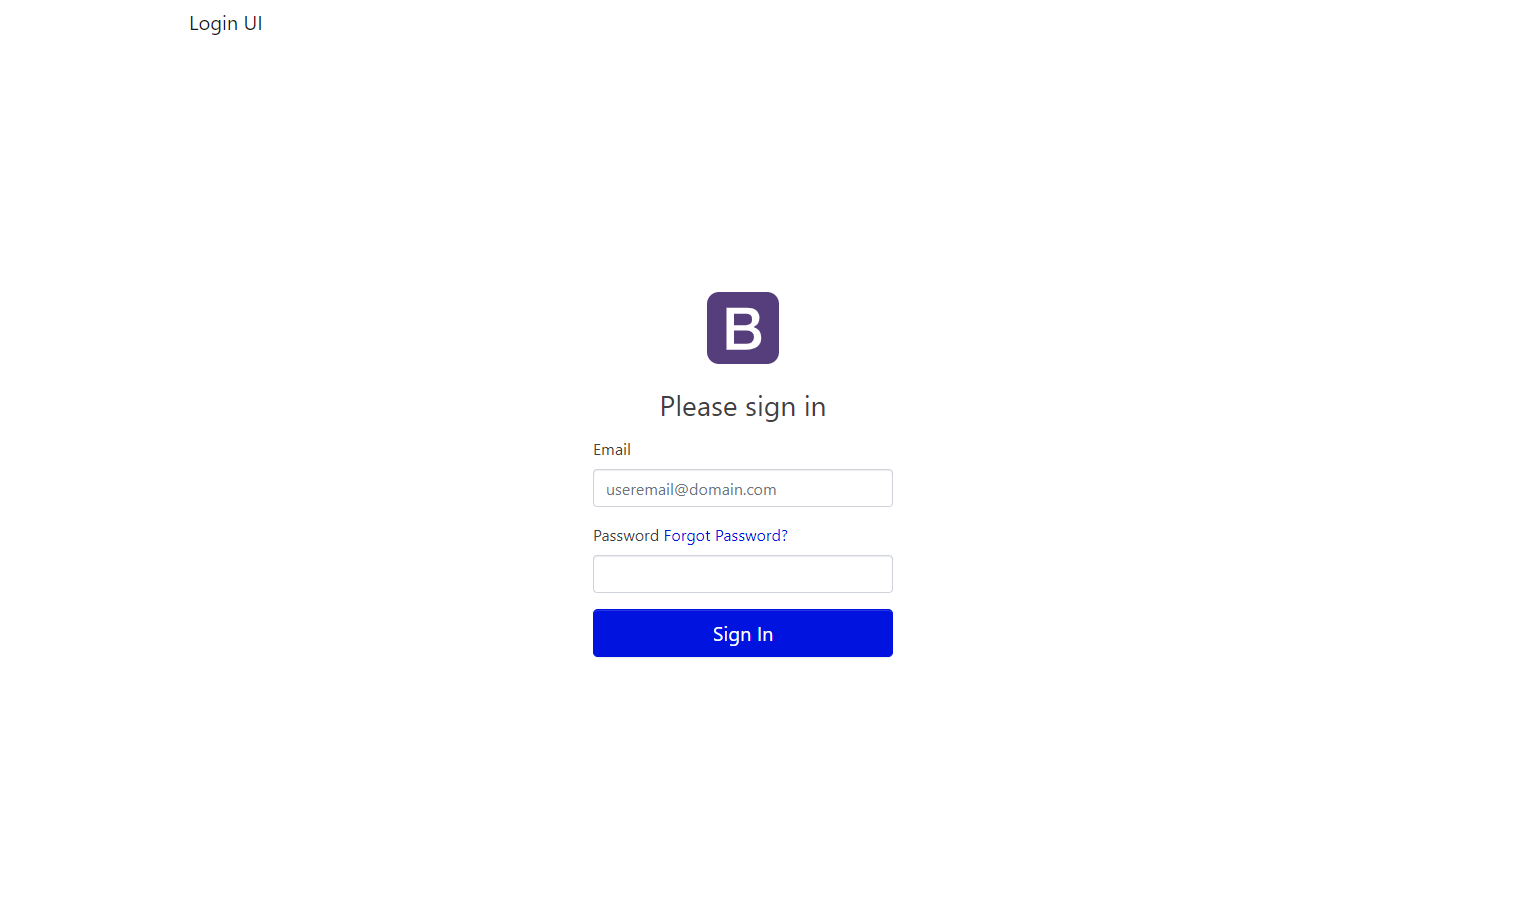
Our login Ui is ready to connect with API, we will cover API integration in our next story.
Example Code:- https://github.com/devudit/next-loginui